
The Failure Nobody Talks About
You printed a wall hook. You tested it. It held 2kg without flinching. You put it in service, hung a bag from it, and forgot about it.
Six months later the bag is on the floor and the hook is visibly bent. You didn't overload it. Nothing hit it. The print just... gave up slowly, while you weren't looking.
This happens constantly and almost nobody in the 3D printing community explains why. They talk about tensile strength. They talk about infill percentages and wall counts. They post breaking tests and drop tests and load tests. What they don't talk about is creep.
Creep is not a print quality problem. It's not a slicer settings problem. It's a materials physics problem that no amount of tuning will fix if you've chosen the wrong material for the job.
Understanding it will change how you think about every functional part you print. Not in a scary way. In a clarifying way. The rules are actually simple once you know what's actually happening.
What Creep Actually Is
Creep is the slow, permanent deformation of a material under constant stress that stays well below its breaking point. It's not a material failing in the traditional sense. It's a material flowing.
Here's what's actually happening at the molecular level. Plastics are made of long polymer chains tangled together. Those chains are held in position by weak intermolecular forces. Under sustained load, the stress gradually nudges those chains into new positions. The chains slip and rearrange. Slowly. Continuously. And because they've moved, the deformation is permanent. When you remove the load, the part doesn't spring back to its original shape. It stays where it drifted.
This is different from tensile failure, which is what breaking tests measure. Tensile failure happens when you apply enough force to break molecular bonds outright, in seconds. Creep failure happens when you apply a modest, sustained force over weeks and months, until the geometry has drifted far enough that the part no longer functions.
The critical insight: a tensile test tells you almost nothing about creep performance. A print that handles 10kg in a pull test might fail under 1kg after six months of constant loading. These are measuring different phenomena. The 3D printing community obsesses over the first one and almost never talks about the second.
Why PLA Is Especially Bad at This
PLA is the right material for learning to print. It's forgiving, it's affordable, and it behaves predictably when things go wrong. None of that changes.
But PLA has a glass transition temperature of around 60°C. That is the temperature at which its polymer chains go from glassy and locked to soft and mobile. Below that temperature, PLA feels solid. Above it, PLA feels like warm wax.
Room temperature is around 22°C. That puts PLA operating 38 degrees below its glass transition. This sounds like a comfortable margin. It is not.
The problem is that polymer chains don't need to reach the glass transition temperature to move. They just need enough thermal energy to slowly rearrange under sustained stress. At room temperature, PLA has plenty of that energy. The chains can't move fast, but given months to work with, they don't need to move fast. They just need to move.
Compare this to PETG, whose glass transition is around 80°C. Room temperature is 58 degrees below that transition. More margin, less chain mobility, slower creep. ABS and ASA have glass transitions around 105°C, which puts room temperature 83 degrees below the transition. Even slower creep.
This is why a PLA bracket in your living room degrades over months while an ABS bracket in the same spot might look identical in three years. The parts are not made of different quality plastic. They're made of plastic with different amounts of thermal headroom at the temperature you're actually using them at.
The creep timeline for PLA under modest load at room temperature runs roughly like this: measurable deformation within the first few days, 1-2% cumulative deformation after a month, 2-3% after three months, and accelerating failure from there. At a windowsill or near any heat source, cut those timelines roughly in half. A 10°C temperature increase can double the creep rate.
A print left on a sunny windowsill where the surface can reach 50°C will fail in 2-3 months. The same print in a cool room away from direct light can last over a year. The temperature difference looks small. The effect on timeline is not.
The Three Stages (and Why You Only Notice the Third One)
Creep in polymers follows three stages, and the reason functional prints seem to fail suddenly is that you only notice the third one.
Stage one: rapid initial deformation. In the first hours to days after putting a print under sustained load, the material deforms quickly as it settles into the applied stress. This is the initial elastic deformation plus the fast part of the molecular rearrangement. The part sags a millimeter and you might not even notice.
Stage two: steady-state creep. This is the slow phase. Days to months of continuous, low-rate deformation. The material is still rearranging, still drifting, but slowly enough that you'd need a micrometer to track it week to week. This is the phase that does most of the damage, invisibly, while the print looks completely fine.
Stage three: accelerating failure. After the material has accumulated enough deformation, the rate accelerates. The geometry has changed enough that stress concentrates differently. The part deforms faster, and now you can see it. The hook is visibly tilted. The clip doesn't grip anymore. The bracket has shifted. This is when you notice the failure, but the failure has been in progress for months.
This is the specific cruelty of creep: the print looks fine right until it obviously doesn't. There's no warning crack, no dramatic snap, no early visual sign that something is going wrong. You install it, test it, walk away satisfied, and then at month six you discover that your satisfaction was premature.
The 24-hour test that most people run before trusting a functional print only catches some of the stage-one deformation. It tells you the print survived a stress test. It tells you nothing about the steady-state creep rate that will determine whether the print is still functional in six months.
How Layer Lines Make It Worse
FDM-printed parts have a structural feature that injection-molded parts don't: layer lines. Those lines are not just a cosmetic texture. They're physical boundaries between beads of deposited plastic that bonded together as they cooled. Those bonds are weaker than the surrounding material.
In an injection-molded part, the plastic is one continuous homogeneous mass. There are no internal boundaries. Stress distributes through the material smoothly.
In an FDM part, stress encounters layer boundaries regularly. These boundaries are where inter-layer adhesion happened, and that adhesion is never as strong as the bulk material. In the Z-axis (perpendicular to layers), FDM parts are typically 30-50% weaker than the same material injection-molded. Creep progresses faster at these boundaries because the molecular chains are already less well-anchored there.
Print orientation matters significantly for this reason. A hook printed vertically, so that the load pulls perpendicular to the layer lines, will creep faster than the same hook printed horizontally with the load running parallel to the layers. The geometry might look identical. The long-term behavior is meaningfully different.
Higher infill doesn't solve this problem. More infill adds more material to fail, but it doesn't strengthen the inter-layer bonds where creep concentrates. Higher wall counts and slower print speeds help (slower printing gives inter-layer diffusion more time to occur and produces stronger bonds), but the fundamental anisotropy of FDM parts is a property of the process, not a parameter you can tune away.
If you're orienting a functional part for appearance or speed, you may be orienting it for the fastest possible creep failure. For any part that carries sustained load, orient it so the primary stress runs parallel to the layer lines, not across them.
The Parts Most Likely to Fail This Way
Creep failure is not uniformly distributed across everything you print. It concentrates in specific categories of functional print that share a common feature: sustained load over a long period.
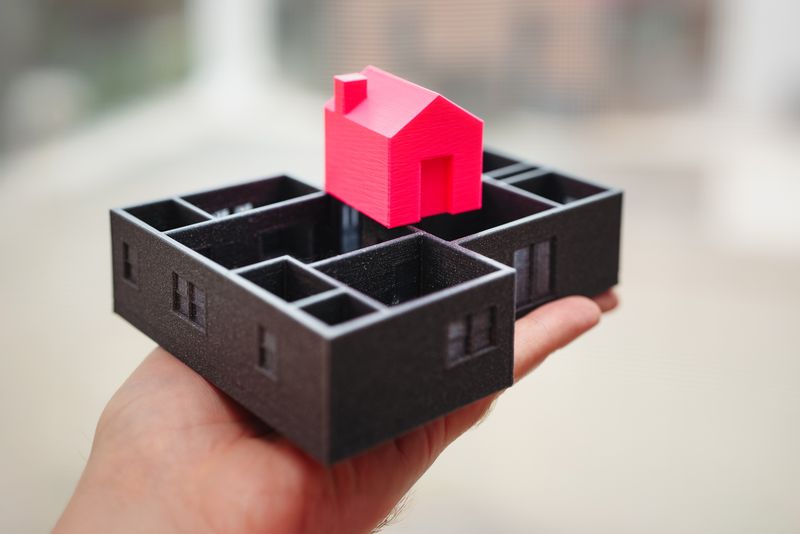
Wall hooks and mounting brackets. These carry constant load continuously. A coat hook with a bag on it is under stress every single minute of every day. The cumulative deformation from six months of continuous load adds up to a lot.
Clips and snap-fits. A snap clip that holds cables or pipes in place is under constant tension. The clip gradually relaxes, losing grip force over months. The object it was holding starts shifting. Eventually it just slides out.
Shelf brackets and supports. Especially cantilever designs mounted at one end. The unsupported span under gravity load is a classic creep scenario. The material deforms slowly in the downward direction at the tip of the cantilever.
Clamps of any kind. A clamp exerts force by being slightly compressed or stretched beyond its neutral geometry. That sustained stress is exactly the loading condition that drives creep. Clamping force bleeds away over weeks.
Cable organizers carrying cable weight. Seems trivial, but cables are heavy in aggregate and the load is continuous. An organizer under a desk carrying several cables sags visibly over months.
Phone mounts and holders near windows or in vehicles. Not only sustained load but elevated temperatures. A phone mount stuck to a car windshield lives in direct sunlight at temperatures that can reach 60-70°C. At that temperature, PLA is near its glass transition. Creep is not slow at that point. It is fast.
The unifying factor is sustained stress over time, not peak stress. A decorative print that just sits on a shelf experiences almost no stress. It won't creep noticeably even in ten years. A functional print that does a job continuously is under sustained stress every day, and the material responds to that over time.

What to Actually Do About It
The good news: creep is predictable and preventable once you understand the mechanism. The fixes are not complicated.
Choose the right material. This is the most important lever. For anything that carries sustained mechanical load, especially in a warm environment, PLA is the wrong material. Not because it's weak but because its glass transition temperature gives it too little thermal margin at the temperatures you're actually using it.
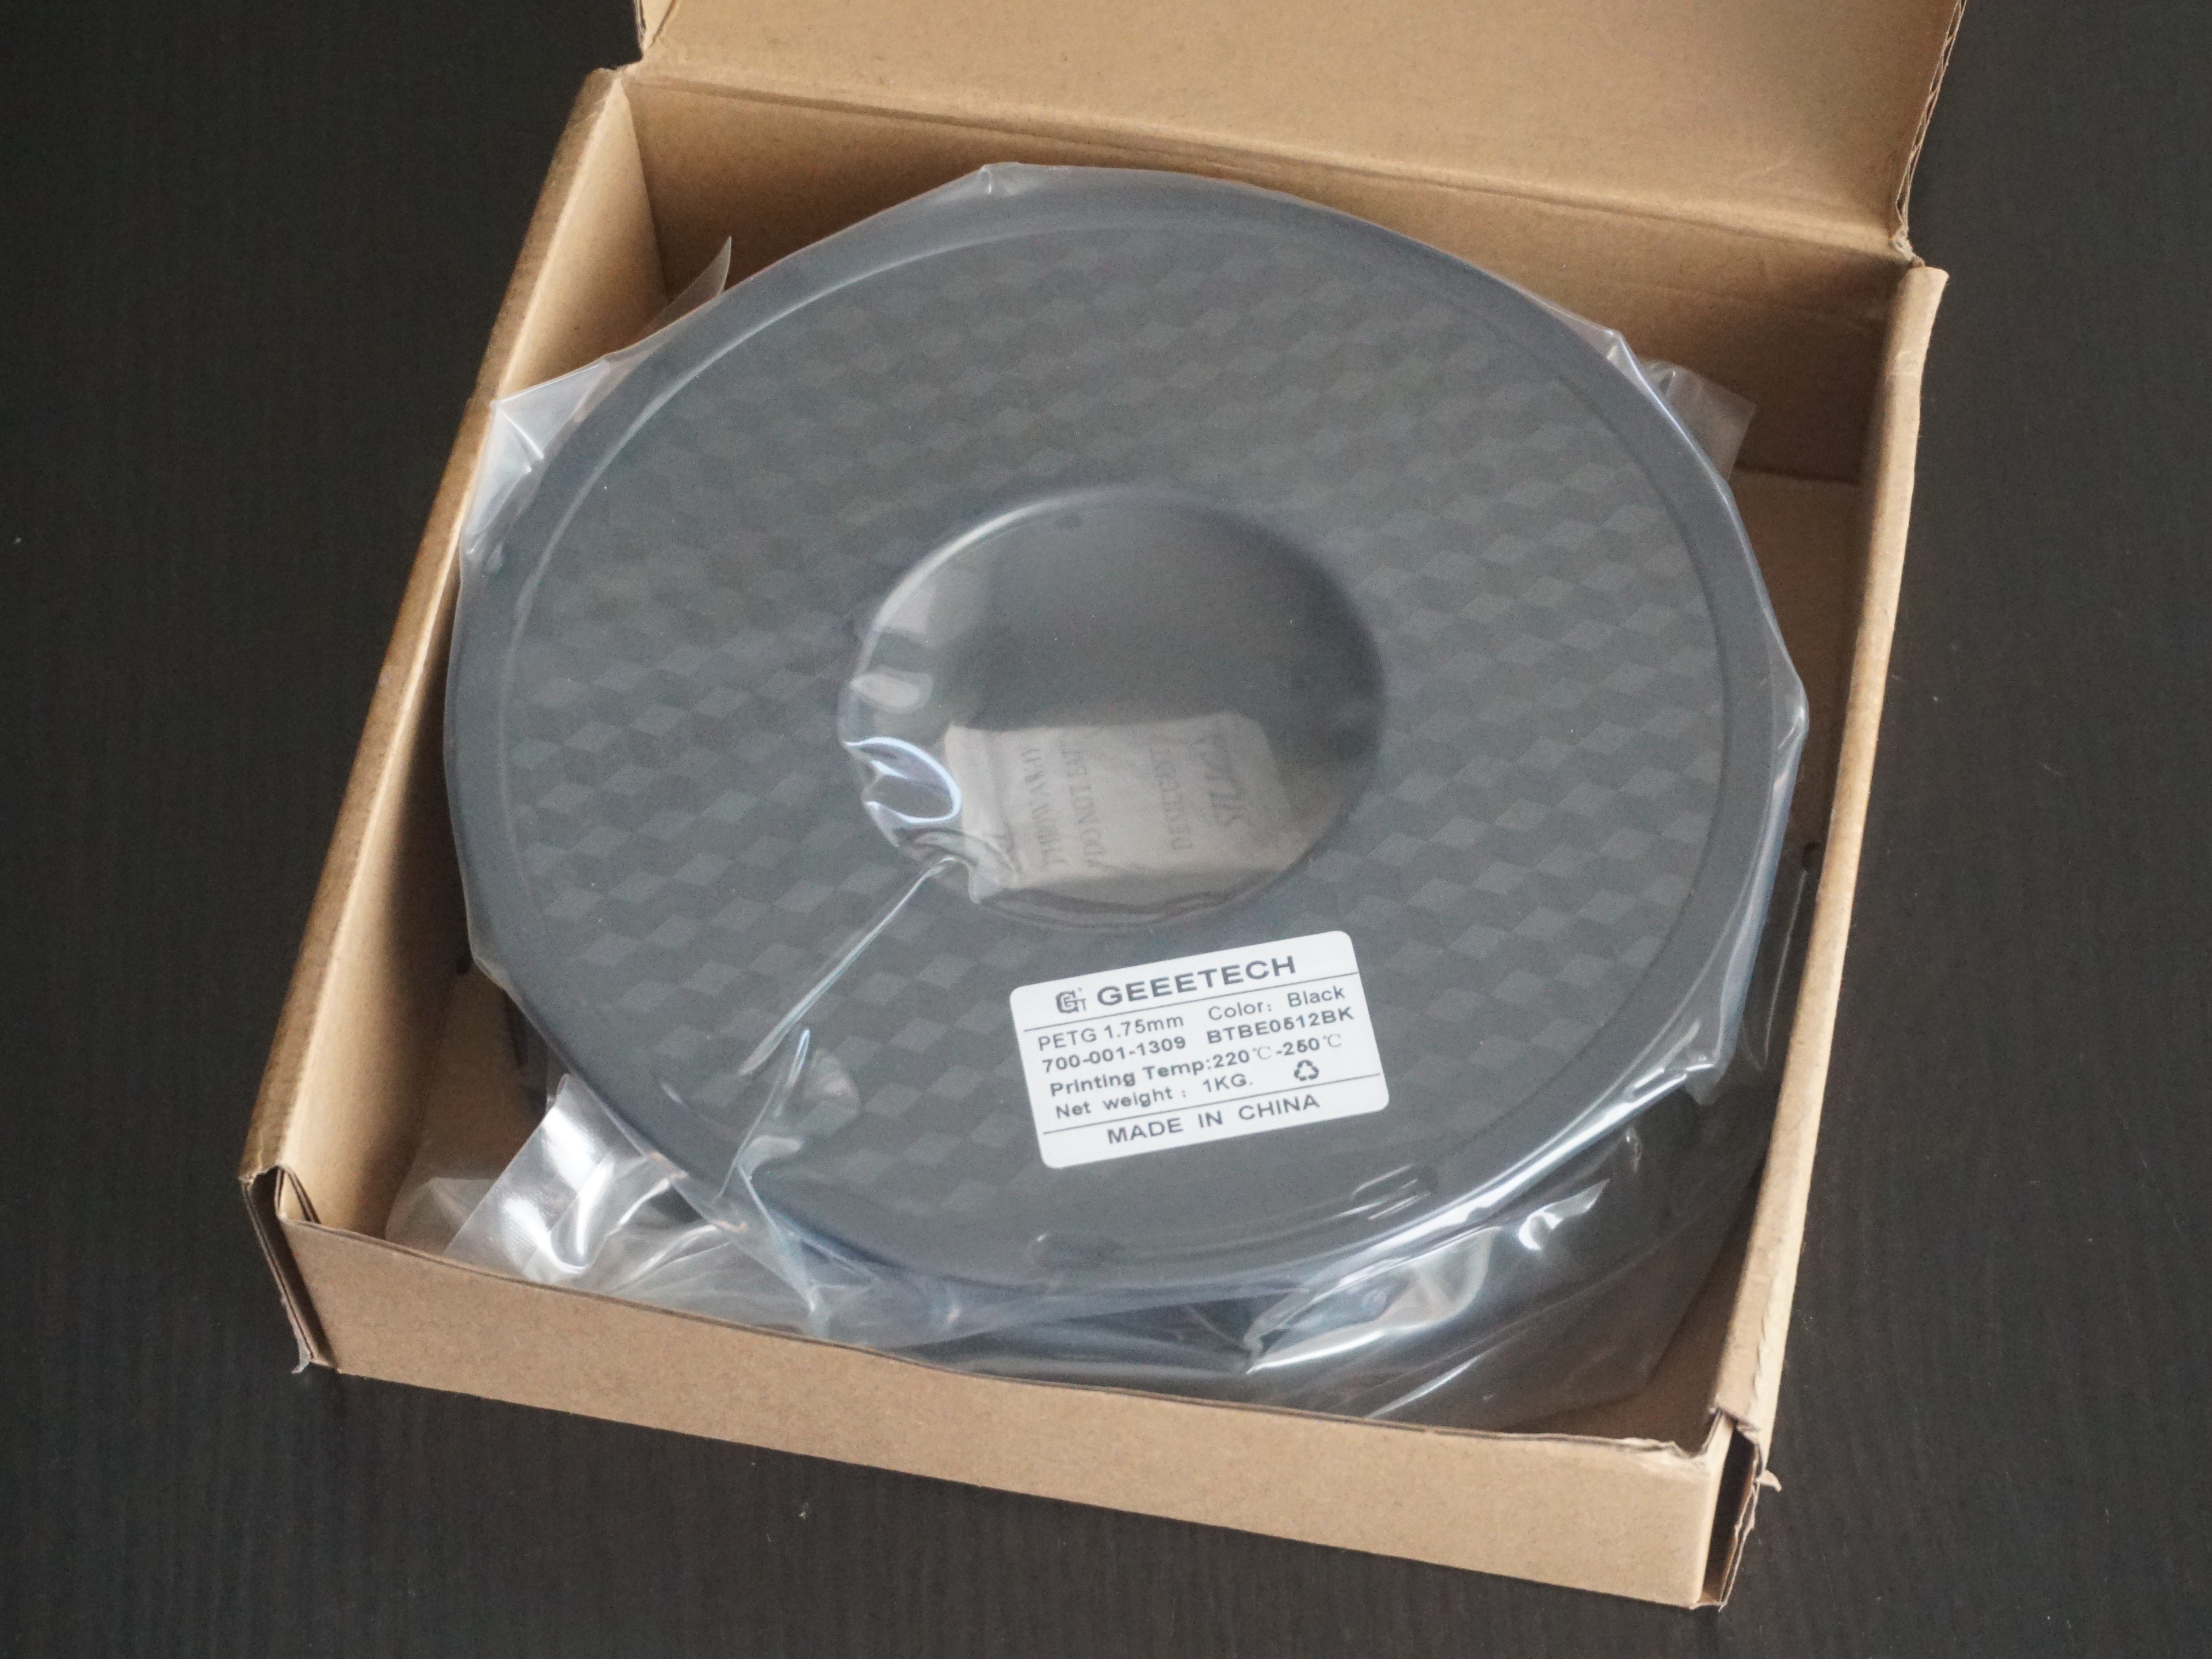
For most functional applications at room temperature, PETG is a meaningful upgrade. Its Tg of 80°C gives it more headroom, and its semi-crystalline structure makes it inherently more creep-resistant than PLA's largely amorphous structure. It's harder to print than PLA but not dramatically so once you've got your settings dialed in.
For anything near heat (vehicles, kitchen, outdoor use, near electronics), ABS or ASA are the correct materials. Their glass transitions around 105°C give them comfortable headroom at temperatures that destroy PLA prints and stress PETG ones. ASA adds UV resistance on top of ABS's thermal properties, which makes it the correct default for outdoor parts.
For genuinely load-critical applications, carbon-fiber-filled filaments dramatically improve creep resistance. The fibers constrain chain mobility mechanically. CF-PETG or CF-nylon parts hold their geometry under sustained load in ways that unfilled filament cannot match.
Design for lower stress. Creep rate is not linear with stress. It accelerates exponentially. A part at 5 MPa stress creeps at a manageable rate. The same part at 10 MPa creeps at several times that rate, not twice. The practical implication: if you can design a bracket to distribute load across more cross-section, you're not just halving the stress, you're reducing the creep rate by far more than half.
Avoid cantilever designs where you can mount both ends instead. Use ribs and flanges to distribute load across area. Increase wall thickness on load-bearing faces. Round internal corners to eliminate stress concentrations where creep initiates faster.
Print for mechanical performance, not print time. Thicker walls produce better inter-layer bonding and more material cross-section resisting deformation. Slower print speed allows more inter-layer diffusion and produces stronger bonds. Orient the part so the primary load path runs parallel to the layer lines.
Anneal PLA if you insist on using it. Baking a PLA print at around 80-90°C for 30-60 minutes causes cold crystallization: the amorphous regions reorganize into crystalline structures that are significantly more resistant to chain movement and therefore more resistant to creep. Properly annealed PLA can show 50-100% improvement in creep resistance in some studies. The risk is warping during annealing, which requires careful support during the heat treatment. But if you're committed to PLA for a load-bearing application, annealing it properly changes its long-term behavior meaningfully.
Accept the material's limits. Not everything needs to last five years. A bracket you're going to replace when it wears out anyway doesn't need to be printed in engineering-grade material. Save the upgraded materials for the prints where creep failure has real consequences.
The material upgrade from PLA to PETG costs roughly 20% more per kilogram and adds one print calibration session to your setup time. For any hook, bracket, or clip that carries sustained load, that's an obviously good trade.
The Part Everyone Gets Wrong
There's a specific mental model failure that causes most of these problems, and it's worth naming directly.
When people evaluate whether a 3D printed part will work, they test it under load and see if it holds. If it holds, they call it good. This is evaluating tensile performance, which is the wrong metric for long-term functional use.
A tensile test applies a load until failure over seconds to minutes. It measures the maximum force the part can handle before it breaks. This is relevant for impact resistance and overload scenarios. It's not relevant for sustained load performance.
A part rated for 5kg based on a tensile test can fail under 1kg after six months of continuous loading. The 5kg rating is not wrong. It's measuring something real. But it's measuring short-term breaking strength, and you're relying on long-term sustained-load resistance. Those are different properties of the same part.
The engineering concept that captures this distinction is stress rupture testing, where you apply a fraction of the rated load and measure how long until failure. For polymers, the stress level that causes failure after 10,000 hours is often 20-30% of the tensile strength. Not 50%. Not 70%. Twenty to thirty percent. A hook with a 5kg tensile rating might have a long-term safe load of 1 to 1.5kg.
This is not a reason to stop printing functional parts. It's a reason to be accurate about what you're actually testing when you test a print, to select materials whose thermal properties match the environment the part lives in, and to design geometry that puts material cross-section where the load concentrates.
The print doesn't fail because it's badly made. It fails because it was made from a material with the wrong thermal margin for sustained load use, evaluated by a test that measures a different failure mode than the one that eventually occurred.
Fix the material and the test. The prints will work fine.
.jpg)